The images collection property in HTML is used to return the collection of <img> elements in the document. It can be used for knowing the count of images inserted in the document using the <img> tag. The <input> elements with type = image are not counted in the image property.
Syntax
document.imagesProperty: It returns the number of <img> elements in the collections.
Methods: The DOM image collection contains three methods which are given below:
- [index]: It is used to return the element of the selected index. The index value starts with 0. It returns NULL if the index value is out of range.
- item(index): It is used to return the <img> element of selected index. The index value starts with 0. It returns NULL if the index value is out of range.
- namedItem(id): It is used to returns the <img> element from the collection with given id attribute. It returns NULL if the id is not valid.
Return Value: An HTMLCollection Object, representing all <img> elements in the document. The elements in the collection are sorted as they appear in the source code
Below programs illustrate the document.image property in HTML:
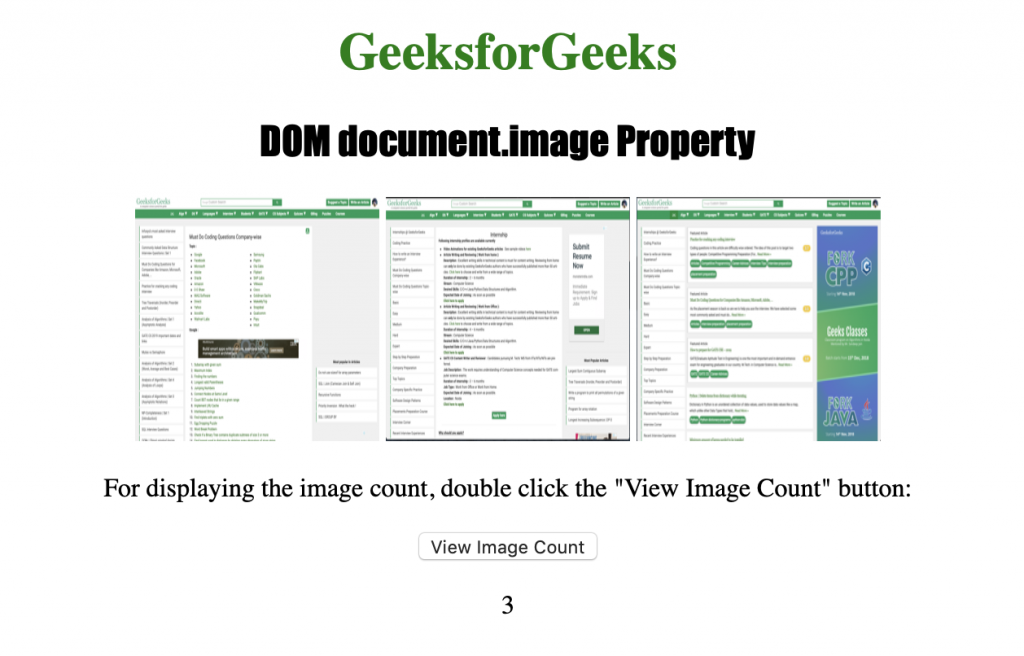
Example 1: Using the length property to return the number of <img> elements in the collection.
<!--Driver Code Starts-->
<!DOCTYPE html>
<html>

<head>
    <title>
        DOM document.image() Property
    </title>
    <style>
        h1 {
            color: green;
        }
        h2 {
            font-family: Impact;
        }
        body {
            text-align: center;
        }
    </style>
</head>

<body>
    <h1>GeeksforGeeks</h1>
    <h2>DOM document.image Property</h2>
    <img src="home.png"
         alt="homepage"
         width="150"
         height="150">
    <img src="internships.png"
         alt="internships"
         width="150"
         height="150">
    <img src="coding.png"
         alt="Coding Practice time"
         idth="150"
         height="150">
    <p>
        For displaying the image count, double
        click the "View Image Count" button:
    </p>
<!--Driver Code Ends-->

    <button ondblclick="myImage()">
        View Image Count
    </button>
    <p id="image"></p>
    <script>
        function myImage() {
            var i = document.images.length;
            document.getElementById("image").innerHTML = i;
        }
    </script>

<!--Driver Code Starts-->
</body>

</html>
<!--Driver Code Ends-->
Output:
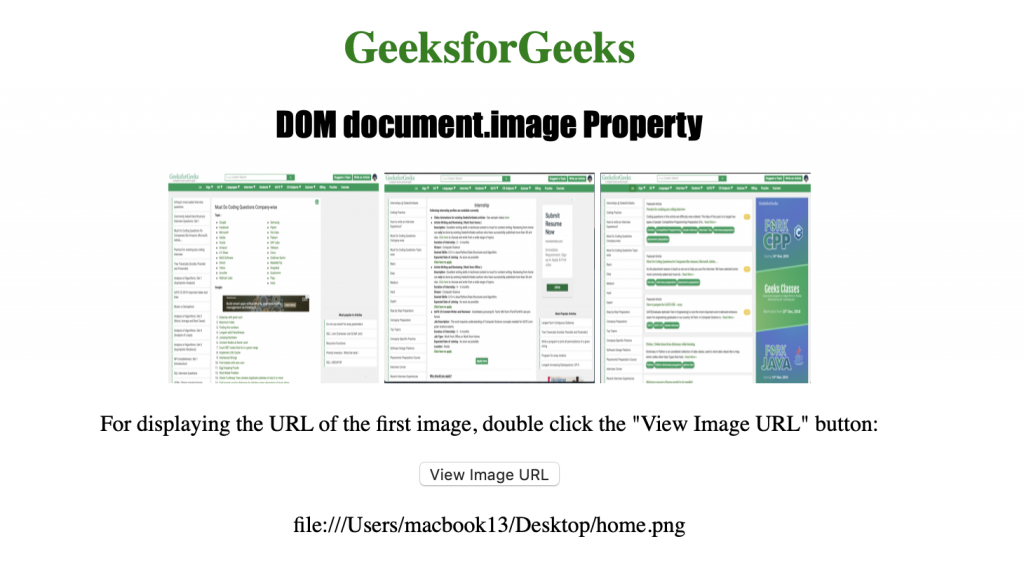
Example 2: Using the URL property to return the URL of the first <img> element in the collection.
<!--Driver Code Starts-->
<!DOCTYPE html>
<html>

<head>
    <title>
        DOM document.image() Property
    </title>
    <style>
        h1 {
            color: green;
        }
        h2 {
            font-family: Impact;
        }
        body {
            text-align: center;
        }
    </style>
</head>

<body>
    <h1>GeeksforGeeks</h1>
    <h2>DOM document.image Property</h2>
    <img src="home.png"
         alt="homepage"
         width="150"
         height="150">
    <img src="internships.png"
         alt="internships"
         width="150"
         height="150">
    <img src="coding.png"
         alt="Coding Practice time"
         width="150"
         height="150">
    <p>
        For displaying the URL of the first image,
        double click the "View Image URL" button:
    </p>
<!--Driver Code Ends-->

    <button ondblclick="myImage()">
        View Image URL
    </button>
    <p id="image"></p>
    <script>
        function myImage() {
            var i = document.images[0].src;
            document.getElementById("image").innerHTML = i;
        }
    </script>

<!--Driver Code Starts-->
</body>

</html>
<!--Driver Code Ends-->
Output:
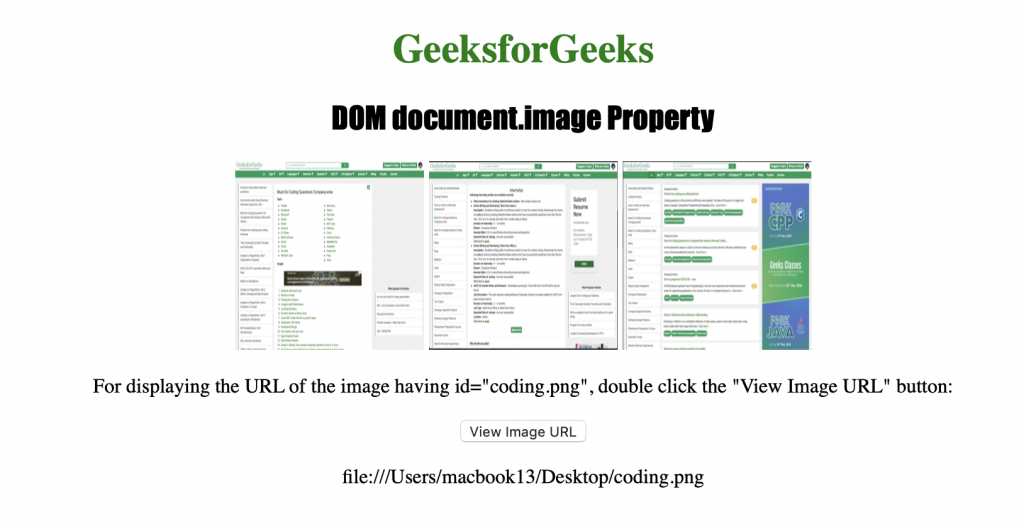
Example 3: Using the nameditem property to return the URL of the <img> element in the collection.
<!--Driver Code Starts-->

<!DOCTYPE html>
<html>

<head>
    <title>
      DOM document.image() Property
    </title>
    <style>
        h1 {
            color: green;
        }
        h2 {
            font-family: Impact;
        }
        body {
            text-align: center;
        }
    </style>
</head>

<body>
    <h1>GeeksforGeeks</h1>
    <h2>DOM document.image Property</h2>
    <img src="home.png"
         alt="homepage"
         width="150"
         height="150">
    <img src="internships.png"
         alt="internships"
         width="150" height="150">
    <img id="coding.png"
         src="coding.png"
         width="150"
         height="150"
         alt="Coding Practice time">
    <p>
      For displaying the URL of the image having id="coding.png",
      double click the "View Image URL" button:
    </p>
<!--Driver Code Ends-->

    <button ondblclick="myImage()">
      View Image URL
      </button>
    <p id="image"></p>
    <script>
        function myImage() {
            var i = document.images.namedItem("coding.png").src;
            document.getElementById("image").innerHTML = i;
        }
    </script>

<!--Driver Code Starts-->
</body>

</html>

<!--Driver Code Ends-->
Output: