

Nowadays, we’re forced to use many accessory tools to facilitate, speed up and optimize our web development workflow. Often, though, such tools add an extra layer of complexity into the stack. As a result, we need to utilize additional time and effort to learn, understand and use these tools correctly. The same is true for webpack.
When using webpack for the first time, it can be difficult to understand how it works and how it should be used. Although it has good documentation, it can be daunting for novices, and it has a steep learning curve. However, webpack is worth learning and can save considerable time and effort in the long run. In this tutorial, I’ll introduce all the core concepts to help you get started.
Note: in this tutorial I’ve used webpack 5.9.0.
Key Takeaways
- Webpack Basics: Webpack is a static module bundler that treats all files and assets as modules, building a dependency graph to generate a single or multiple bundles for web deployment.
- Core Concepts Overview: Understand the key concepts such as entry, output, loaders, plugins, and mode settings to effectively use Webpack in different environments (development, production).
- Webpack 5 Enhancements: Version 5 introduces features like Persistent Caching, improved Tree Shaking, and removal of automatic Node.js polyfills, enhancing performance and reducing bundle sizes.
- Getting Started with Webpack: Initiate a project with Webpack by setting up a basic configuration file, understanding default settings, and utilizing plugins like `html-webpack-plugin` for dynamic HTML generation.
- Advanced Usage: Learn to handle CSS with style and css-loaders, manage assets with built-in modules replacing older loaders, and optimize your development process with Webpack’s dev server for live reloading.
- Best Practices for Production: Utilize Webpack’s capabilities to transpile modern JavaScript, manage styles and assets, and speed up development with tools like webpack-dev-server and optimizations for production builds.
What Is Webpack?
As its core, webpack is a static module bundler. In a particular project, webpack treats all files and assets as modules. Under the hood, it relies on a dependency graph. A dependency graph describes how modules relate to each other using the references (require and import statements) between files. In this way, webpack statically traverses all modules to build the graph, and uses it to generate a single bundle (or several bundles) — a JavaScript file containing the code from all modules combined in the correct order. “Statically” means that, when webpack builds its dependency graph, it doesn’t execute the source code but stitches modules and their dependencies together into a bundle. This can then be included in your HTML files.
Now, to expand the above cursory overview, let’s explore the main concepts webpack uses.
Webpack Main Concepts
Webpack has some main concepts which we need to understand clearly before digging in its practical implementation. Let’s examine them one by one:
- Entry: the entry point is the module that webpack uses to start building its internal dependency graph. From there, it determines which other modules and libraries that entry point depends on (directly and indirectly) and includes them in the graph until no dependency is left. By default, the entry property is set to
./src/index.js, but we can specify a different module (or even multiple modules) in the webpack configuration file. - Output: the output property instructs webpack where to emit the bundle(s) and what name to use for the file(s). The default value for this property is
./dist/main.jsfor the main bundle and./distfor other generated files — such as images, for example. Of course, we can specify different values in the configuration depending on our needs. - Loaders: by default, webpack only understands JavaScript and JSON files. To process other types of files and convert them into valid modules, webpack uses loaders. Loaders transform the source code of non-JavaScript modules, allowing us to preprocess those files before they’re added to the dependency graph. For example, a loader can transform files from a CoffeeScript language to JavaScript or inline images to data URLs. With loaders we can even import CSS files directly from our JavaScript modules.
- Plugins: plugins are used for any other task that loaders can’t do. They provide us with a wide range of solutions about asset management, bundle minimization and optimization, and so on.
- Mode: typically, when we develop our application we work with two types of source code — one for the development build and one for the production build. Webpack allows us to set which one we want to be produced by changing the mode parameter to development, production or none. This allows webpack to use built-in optimizations corresponding to each environment. The default value is production. The none mode means that no default optimization options will be used. To learn more about the options webpack uses in development and production mode, visit the mode configuration page.
How Webpack Works
In this section, we’ll examine how webpack works. Even a simple project contains HTML, CSS and JavaScript files. Also, it can contains assets such as fonts, images, and so on. So, a typical webpack workflow would include setting up an index.html file with the appropriate CSS and JS links, and the necessary assets. Also, if you have many CSS and JS modules which depend on each other, they need to be optimized and properly combined in one unit ready for production.
To do all this, webpack relies on configuration. Starting from version 4 and above, webpack provides reasonable defaults out of the box, so creating a configuration file is not required. However, for any non-trivial project you’ll need to provide a special webpack.config.js file, which describes how the files and assets should be transformed and what kind of output should be generated. This file can quickly become monolithic, which makes it hard to understand how webpack does its job unless you know the main concepts behind its working.
Based on the provided configuration, webpack starts from the entry points and resolves each module it encounters while constructing the dependency graph. If a module contains dependencies, the process is performed recursively against each dependency until the traversal has completed. Then webpack bundles all the project’s modules into a small number of bundles — usually, just one — to be loaded by the browser.
What’s New in Webpack 5
A webpack 5 release was announced in October 2020. The post is quite long and explores all the changes made to webpack. It’s impossible to mention all changes and it’s unnecessary for a beginner’s guide like this. Instead, I’ll try to put a small list with some general highlights:
- The build performance is improved with Persistent Caching. Developers can now enable a file-system–based cache, which will speed up the development builds.
- The Long Term Caching is also improved. In webpack 5, changes made to the code that don’t affect the minimized bundle version (comments, variable names) won’t result in cache invalidation. Also, new algorithms were added which assign short numeric IDs to modules and chunks and short names to exports in a deterministic way. In webpack 5, they’re enabled by default in production mode.
- Improved bundle size, thanks to better Tree Shaking and Code Generation. Thanks to the new Nested Tree-Shaking feature, webpack is now able to track access to nested properties of exports. The CommonJs Tree Shaking allows us to eliminate unused CommonJs exports.
- The minimum supported Node.js version has increased from 6 to 10.13.0 (LTS).
- The codebase is cleaned up. All items marked as deprecated in webpack 4 are removed.
- Automatic Node.js polyfills are removed. Previous versions of webpack have included polyfills for native Node.js libraries like
crypto. In many cases they are unnecessary and increase the bundle size drastically. That’s why webpack 5 stops automatically polyfilling these core modules and focuses on front-end–compatible modules. - As an improvement of development, webpack 5 allows us to pass a list of targets and also support versions of target. It provides automatic determination of the public path. And also, it offers automatic, unique naming, which prevents conflicts between multiple webpack runtimes that use the same global variable for chunk loading.
- The
webpack-dev-servercommand is nowwebpack serve. - Asset modules are introduced, which replace the uses of
file-loader,raw-loader, andurl-loader.
Please open the announcement link above to find more complete and detailed information about all the updates.
Finally, if you’re coming from webpack 4, here’s the migration guide.
Getting Started
Note: you can find the files for our project in the GitHub repo.
Now that we have a solid theoretical foundation, let’s implement it in practice.
To start, we’ll create a new directory and switch to it. Then we’ll initialize a new project:
mkdir learn-webpack
cd learn-webpack
npm init -y
Next, we need to install webpack and webpack CLI (command line interface) locally:
npm install webpack webpack-cli --save-dev
Now, the content of the generated package.json should be similar to the following:
{
  "name": "learn-webpack",
  "version": "1.0.0",
  "description": "",
  "main": "index.js",
  "scripts": {
    "test": "echo \"Error: no test specified\" && exit 1"
  },
  "keywords": [],
  "author": "",
  "license": "ISC",
  "devDependencies": {
    "webpack": "^5.9.0",
    "webpack-cli": "^4.2.0"
  }
}
Besides being a package manager, npm can be used as a simple task runner. We can create webpack tasks by including the name of our task followed by its instructions in the scripts section of the package.json file. Let’s try this now. Open package.json and change the scripts object to the following:
"scripts": {
  "test": "echo \"Error: no test specified\" && exit 1",
  "dev": "webpack --mode development",
  "build": "webpack --mode production"
},
Within the scripts property, npm allows us to reference locally installed Node.js packages by their names. We use that and the --mode flag to define dev and build tasks, which will run webpack in development (npm run dev) and production (npm run build) mode respectively.
Before we test the tasks we’ve just created, let’s create a src directory and put an index.js file in it so that it contains console.log("Hello, Webpack!");. Now we can already run the dev task to start webpack in development mode:
$ npm run dev

> learn-webpack@1.0.0 dev C:\WEBDEV\learn-webpack
> webpack --mode development

[webpack-cli] Compilation finished
asset main.js 874 bytes [emitted] (name: main)
./src/index.js 31 bytes [built]
webpack 5.9.0 compiled successfully in 122 ms
As I mentioned before, webpack sets the default entry point to ./src/index.js and the default output to ./dist/main.js. So what webpack does when we run the dev task is to get the source code from index.js file and bundle the final code in a main.js file.
Great! It works as expected. But to verify that we get the correct output, we need to display the result in the browser. To do that, let’s create an index.html file in the dist directory:
<!doctype html>
<html>
  <head>
    <title>Getting Started With Webpack</title>
  </head>
  <body>
    <script src="main.js"></script>
  </body>
</html>
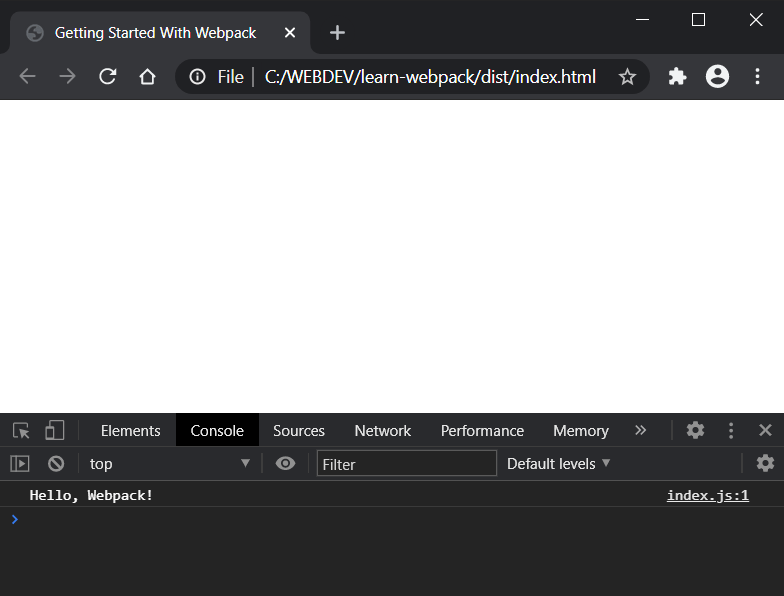
Now, if we open the file in the browser, we should see the Hello, Webpack! message in the console.
So far, so good. But writing our index.html file manually can be problematic in some cases. For example, if we change the name of our entry point, the generated bundle will be renamed, but our index.html file will still reference the old name. So, we’ll need to update our HTML file manually every time we rename an entry point or add new one. Fortunately, we can easily fix that with the html-webpack-plugin. Let’s install it now:
npm install html-webpack-plugin@next --save-dev
Note: notice that I have typed html-webpack-plugin@next instead of just html-webpack-plugin. At the time of writing, the former is the proper version for webpack 5, and the latter is the version for webpack 4. This could change in future, so for the actual version check the html-webpack-plugin repo.
At this point, to activate the plugin, we need to create a webpack.config.js file in the root directory with the following content:
const HtmlWebpackPlugin = require("html-webpack-plugin");
const path = require('path');

module.exports = {
  plugins: [
    new HtmlWebpackPlugin({
      title: "Webpack Output",
    }),
  ],
};
As you can see, to activate a webpack plugin, we need to include it in the file and then add it to the plugins array. If needed, we also pass options to the plugin. See the html-webpack-plugin repo for all available options and the ability to write and use your own templates.
Let’s run webpack now to see what will happen:
$ npm run dev

> learn-webpack@1.0.0 dev C:\WEBDEV\learn-webpack
> webpack --mode development

[webpack-cli] Compilation finished
asset main.js 874 bytes [compared for emit] (name: main)
asset index.html 234 bytes [emitted]
./src/index.js 31 bytes [built]
webpack 5.9.0 compiled successfully in 151 ms
Let’s open the index.html. As we can see, the plugin automatically creates an updated index.html file for us, which uses the title option from the configuration:
<!DOCTYPE html>
<html>
  <head>
    <meta charset="utf-8">
    <title>Webpack Output</title>
    <meta name="viewport" content="width=device-width, initial-scale=1">
    <script defer src="main.js"></script>
  </head>
  <body>
  </body>
</html>
Let’s now expand our project and specify custom names for the entry and output properties. In webpack.config.js we add the following before the plugins property:
entry: {
  main: path.resolve(__dirname, './src/app.js'),
},
output: {
  filename: '[name].bundle.js',
  path: path.resolve(__dirname, 'deploy')
},
Here, we change the entry file to app.js and the output folder to deploy. We also tweak the name of the generated bundle file slightly. Now it will start with the name of the entry (“main”) followed by the word “bundle” and the .js file extension.
Now, we’ll create an src/component.js file:
export default (text = "Hello, Webpack!") => {
  const element = document.createElement("h1");

  element.innerHTML = text;

  return element;
};
Next, we rename index.js to app.js to reflect our changes, and replace its content with the following:
import component from './component';

document.body.appendChild(component());
Now, let’s run webpack again:
$ npm run dev

> learn-webpack@1.0.0 dev C:\WEBDEV\learn-webpack
> webpack --mode development

[webpack-cli] Compilation finished
asset main.bundle.js 4.67 KiB [emitted] (name: main)
asset index.html 241 bytes [emitted]
runtime modules 668 bytes 3 modules
cacheable modules 230 bytes
  ./src/app.js 79 bytes [built]
  ./src/component.js 151 bytes [built]
webpack 5.9.0 compiled successfully in 194 ms
Let’s examine and clarify the information from the webpack output. After the “Compilation finished” message you can see the files generated in the deploy directory (main.bundle.js and index.html). Below them, you can see the source files: the entry module (app.js) and its dependency (component.js).
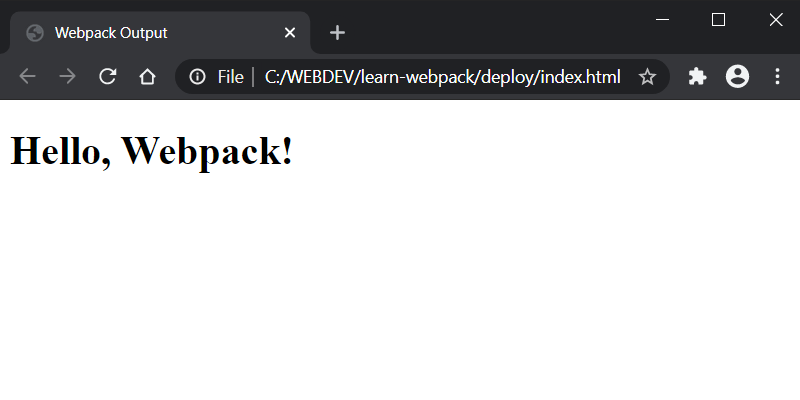
So now, in the deploy folder, we have the newly generated bundle file main.bundle.js. If we open the index.html file in the browser, we should see Hello, Webpack! displayed on the page.
Also, if we check the source of index.html, we’ll see that the value of the src property in the script tag is updated to main.bundle.js.
At this point, we can delete the dist folder, which webpack generated initially, because we won’t need it anymore.
Transpiling Modern JavaScript to ES5
In this section, we’ll discover how ES6 can be transpiled to ES5-compliant code that works in all browsers. Let’s start by running the following command:
npm run dev -- --devtool inline-source-map
Here, I run webpack with devtool option set to inline-source-map in order to render the code more readable. This way I can demonstrate the code transpilation from ES6 to ES5 more clearly.
Next, let’s open main.bundle.js:
/***/ "./src/component.js":
/*!**************************!*\
  !*** ./src/component.js ***!
  \**************************/
/*! namespace exports */
/*! export default [provided] [no usage info] [missing usage info prevents renaming] */
/*! other exports [not provided] [no usage info] */
/*! runtime requirements: __webpack_exports__, __webpack_require__.r, __webpack_require__.d, __webpack_require__.* */
/***/ ((__unused_webpack_module, __webpack_exports__, __webpack_require__) => {

__webpack_require__.r(__webpack_exports__);
/* harmony export */ __webpack_require__.d(__webpack_exports__, {
/* harmony export */   "default": () => __WEBPACK_DEFAULT_EXPORT__
/* harmony export */ });
/* harmony default export */ const __WEBPACK_DEFAULT_EXPORT__ = ((text = "Hello, Webpack!") => {
  const element = document.createElement("h1");

  element.innerHTML = text;

  return element;
});

/***/ })
As you can see, the modern ES6 features (the arrow function and the const declaration) from component.js module are not transformed to ES5-compliant code by default. To make our code work in older browsers, we must add the Babel loader:
npm install babel-loader @babel/core @babel/preset-env --save-dev
Then, in webpack.config.js add module after the output property:
module: {
  rules: [
    {
      test: /\.js$/,
      exclude: /node_modules/,
      use: {
        loader: 'babel-loader',
        options: {
          presets: ['@babel/preset-env']
        }
      }
    },
  ]
},
When we define rules for a webpack loader, there are usually three main properties we need to define:
test, which describes what kind of files should be transformed.exclude, which defines the files that shouldn’t be processed from the loader(s), if we have such.use, which tells which loader(s) should be used against the matched modules. Here, we can also set the loader options, as we’ve just done with thepresetsoption.
Run the following command again:
npm run dev -- --devtool inline-source-map
This time, the code in main.bundle.js is compiled:
/***/ "./src/component.js":
/*!**************************!*\
  !*** ./src/component.js ***!
  \**************************/
/*! namespace exports */
/*! export default [provided] [no usage info] [missing usage info prevents renaming] */
/*! other exports [not provided] [no usage info] */
/*! runtime requirements: __webpack_exports__, __webpack_require__.r, __webpack_require__.d, __webpack_require__.* */
/***/ ((__unused_webpack_module, __webpack_exports__, __webpack_require__) => {

__webpack_require__.r(__webpack_exports__);
/* harmony export */ __webpack_require__.d(__webpack_exports__, {
/* harmony export */   "default": () => __WEBPACK_DEFAULT_EXPORT__
/* harmony export */ });
/* harmony default export */ const __WEBPACK_DEFAULT_EXPORT__ = (function () {
  var text = arguments.length > 0 && arguments[0] !== undefined ? arguments[0] : "Hello, Webpack!";
  var element = document.createElement("h1");
  element.innerHTML = text;
  return element;
});

/***/ })
Perfect. Now we can use the modern JS features, and webpack will transform our code so it can be executed by older browsers.
Working with Styles
In this section, we’ll see how we can add some styles to our project. To do this, we need to install two loaders:
npm install css-loader style-loader --save-dev
css-loaderparses the CSS into JavaScript and resolves any dependenciesstyle-loaderoutputs our CSS into a<style>tag in the HTML document.
Let’s add the necessary configuration in webpack.config.js:
module: {
  rules: [
    ...
    {
      test: /\.css$/,
      use: ["style-loader", "css-loader"]
    },
  ]
},
Here, the order of loaders is important. They’re evaluated in reverse order — that is, from right to left and from bottom to top. In our case, the css-loader is evaluated first, followed by the style-loader.
Now, let’s create a file src/style.css:
h1 {
  color: red;
}
Then we import it into app.js:
import './style.css';
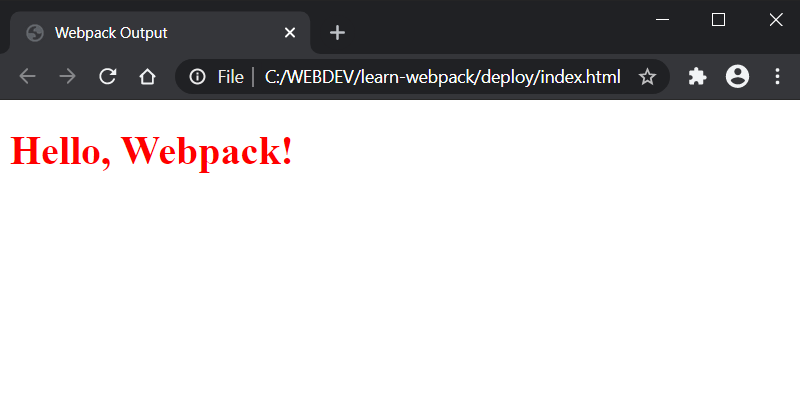
When we run webpack (npm run dev) and then open the index.html, we should see the Hello, Webpack! message in red color.
Asset Management
Most often your project will contain assets such as images, fonts, and so on. In webpack 4, to work with assets, we had to install one or more of the following loaders: file-loader, raw-loader, and url-loader. In webpack 5, as we saw earlier, this is not needed anymore, because the new version comes with the built-in asset modules.
Here, we’ll explore an example with images. Let’s add new rule in the webpack.config.js:
module: {
  rules: [
    ...
    {
      test: /\.(?:ico|gif|png|jpg|jpeg)$/i,
      type: 'asset/resource',
    },
  ]
},
Here, the type asset/resource is used instead of file-loader.
Now, to test the loader we’ll create an image-component.js file, in the src directory, with the following content:
import image from "./image.png";

const img = document.createElement("img");
img.src = image;
document.body.appendChild(img);
Here, we import our image as a module and use it to create an <img/> tag. To make the above code work, you need to download the image and then rename it to image.png and put it in the src directory.
The next thing is to import our image component in app.js:
import './image-component';
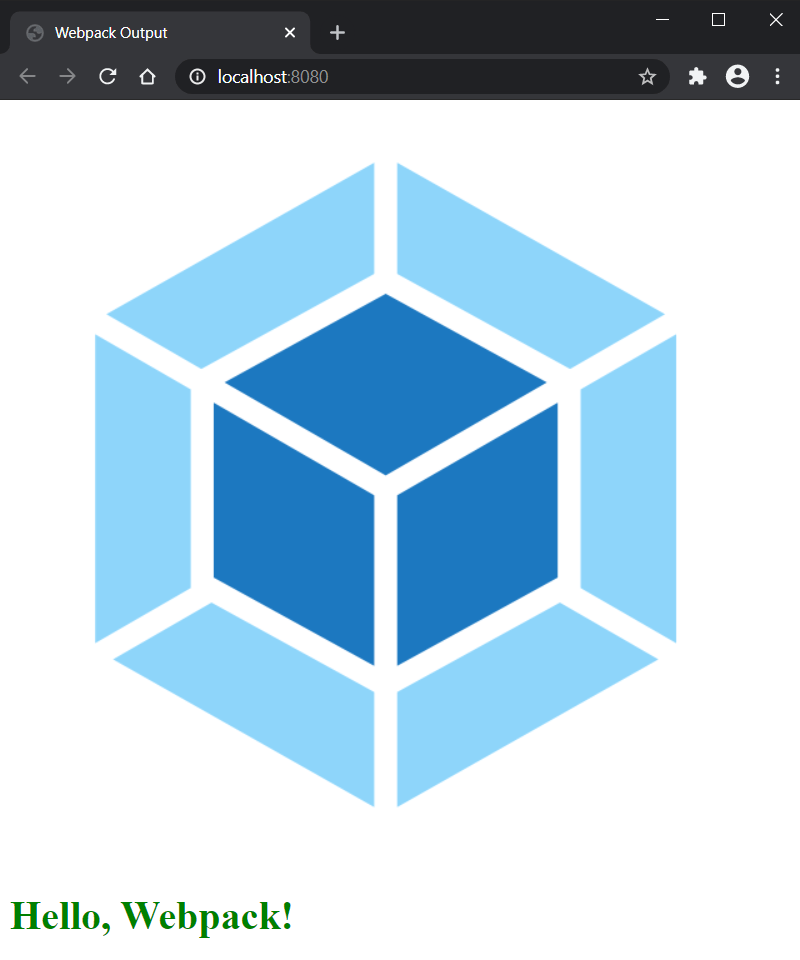
And voila. Now, when we run webpack (npm run dev) and open the page, we should see the image above the Hello, Webpack! message.
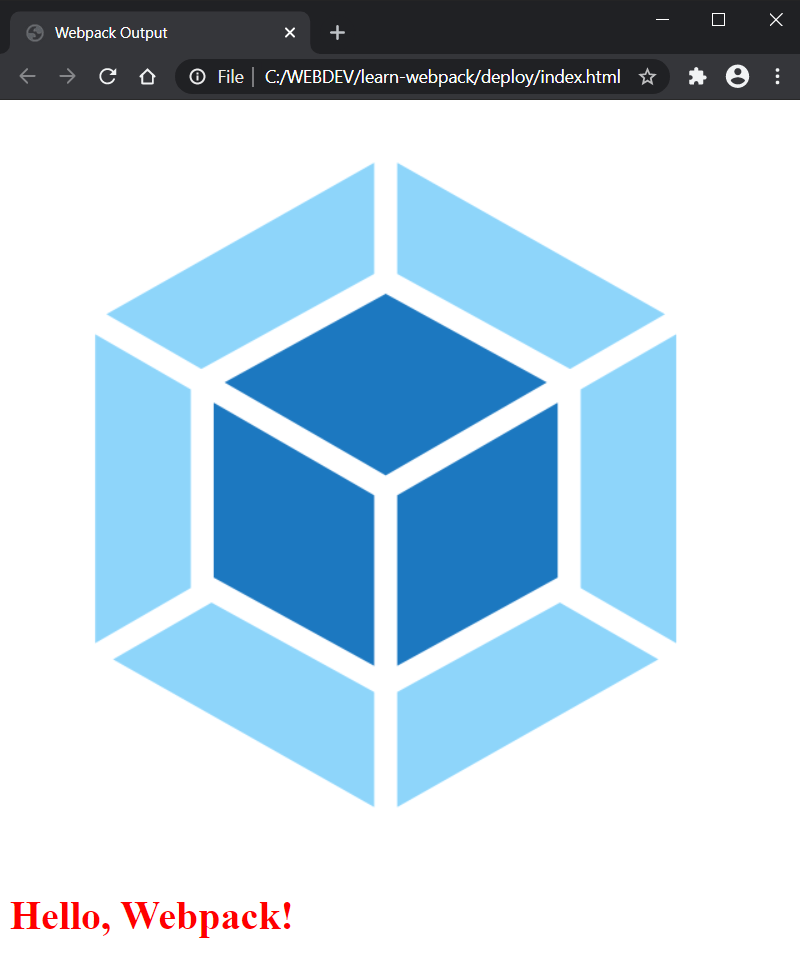
If you take a look at the deploy folder right now, you’ll find three files generated in it: a1af828b4e65d37668e1.png, main.bundle.js, and index.js. Here’s what webpack does behind the scenes: the image is added to the deploy folder and assigned a unique hash, followed by the image extension. The image is then included in the newly generated main.bundle.js file as a module. Finally, an index.html file is generated with reference to the main.bundle.js file.
Speed Up the Development Process with webpack-dev-server
Currently, we need to rebuild our code every time we make a change. Fortunately, webpack offers a live-reloading web server which automatically builds and refreshes the page. To install it, run the following:
npm install webpack-dev-server --save-dev
We need to update our dev script, in package.json, to use the server:
"dev": "webpack serve --mode development"
Now let’s configure the server in webpack.config.js by adding the following property after the output:
devServer: {
  contentBase: './deploy',
  open: true
},
This tells webpack-dev-server to serve the files from the deploy directory and to open the entry page automatically.
Now, if we run webpack (npm run dev), we should see how the page is automatically opened in the browser on http://localhost:8080.
Note: After running the webpack-dev-server you won’t find any files in the deploy folder (it will be empty) because the server doesn’t write any output files after compiling. Instead, it keeps bundle files in memory and serves them as if they were real files mounted at the server’s root path. See the webpack development guide for more information. However, when you run the build command, the deploy folder will be populated with the generated files as expected.
If we now change any of the source files and save them, the web server will automatically reload the page after the code has been compiled. Try to change the color property in our CSS file to green, for example, and you should see how the color is updated appropriately in the page.
Clean Up the Output
As our project progresses, the deploy folder might become quite cluttered. On every build, webpack will generate the bundles and put them in the deploy folder, but it doesn’t keep track of which files are actually in use by your project. So it’s a good practice to clean the deploy folder before each build, so that only the files in use will be generated. To do this, we need to install and configure the clean-webpack-plugin:
npm install clean-webpack-plugin --save-dev
In webpack.config.js:
const { CleanWebpackPlugin } = require('clean-webpack-plugin');

...

plugins: [
  ...
  new CleanWebpackPlugin()
],
Now, run webpack (npm run build) and inspect the deploy folder. You should now only see the files generated from the build without old and unused files. To test it, create a simple text file which is not used in the project and run the build script again. After the compilation the file will be deleted.
Conclusion
Webpack is a useful and powerful tool. This tutorial introduces only the core concepts, but webpack offers many more features, plugins, and different techniques to apply them, which you can adopt as your knowledge grows. Here’s a list of resources I suggest for further exploration of webpack’s capabilities:
- Official webpack Documentation. The documentation offers you structured information about webpack’s main concepts and configuration, as well as plugins and loaders you can use in your project, and basic guides and API references.
- Webpack 5: From Apprentice to Master. A complete manual which dives deeply into each webpack aspect. Written by Juho Vepsäläinen, a core developer of webpack.
- Webpack: The Core Concepts. A great introductory video course by Sean Larkin, one of webpack’s maintainers.
Frequently Asked Questions (FAQs) about Webpack
What is the difference between Webpack and other module bundlers?
Webpack is a powerful module bundler that bundles JavaScript files for usage in a browser. Unlike other module bundlers, Webpack has a rich plugin system that allows you to customize its functionality. It also supports a variety of file types, not just JavaScript, including CSS, images, and fonts. This means you can manage all your assets in one place. Additionally, Webpack has a feature called “code splitting” that allows you to split your code into various bundles which can then be loaded on demand or in parallel.
How can I configure Webpack for multiple environments?
Webpack allows you to have separate configuration files for different environments like development, testing, and production. This can be achieved by creating separate configuration files for each environment and using the ‘webpack-merge’ utility to merge the common configuration with the environment-specific configuration. This way, you can have specific settings for each environment without duplicating code.
How does Webpack handle CSS?
Webpack can handle CSS files using loaders. Loaders are transformations that are applied to the source code of a module. To process CSS files, you can use the ‘style-loader’ and ‘css-loader’. The ‘css-loader’ interprets ‘@import’ and ‘url()’ like ‘import/require()’ and will resolve them, while the ‘style-loader’ injects CSS into the DOM.
What is Hot Module Replacement in Webpack?
Hot Module Replacement (HMR) is a feature in Webpack that allows modules to be updated at runtime without the need for a full refresh. This can significantly speed up development as it allows you to see changes without losing the state of the application.
How can I optimize my Webpack build for production?
Webpack provides several ways to optimize your build for production. This includes minifying your code using plugins like ‘UglifyJsPlugin’, eliminating unused code with ‘tree shaking’, and splitting your code into chunks using the ‘SplitChunksPlugin’. You can also use the ‘DefinePlugin’ to create global constants which can reduce code size and improve performance.
How can I use Webpack with Babel?
Babel is a popular JavaScript compiler that allows you to use next-generation JavaScript today. To use Babel with Webpack, you need to install the ‘babel-loader’ and configure it in your Webpack configuration file. This will allow Webpack to process your JavaScript files with Babel before bundling them.
Can I use Webpack with TypeScript?
Yes, you can use Webpack with TypeScript. To do this, you need to install the ‘ts-loader’ or ‘awesome-typescript-loader’. Then, you can configure Webpack to process your TypeScript files with these loaders before bundling them.
How can I handle images with Webpack?
Webpack can handle images using the ‘file-loader’ or ‘url-loader’. These loaders allow you to import images in your JavaScript files, and Webpack will process them and include them in your bundle.
Can I use Webpack with React?
Yes, you can use Webpack with React. Webpack can handle JSX syntax (used in React) with the help of ‘babel-loader’. You can also use the ‘react-hot-loader’ for hot module replacement in your React components.
How can I debug my Webpack configuration?
Webpack provides a variety of options for debugging. You can use the ‘debug’ option in your configuration file to enable debug mode. You can also use the ‘devtool’ option to control how source maps are generated. Additionally, Webpack provides detailed error messages and stack traces to help you debug your configuration.

