Spring Security is a framework that helps secure Java web applications by providing authentication, authorization and protection against common attacks like CSRF and session hijacking. It integrates seamlessly with the Spring MVC framework and gives developers flexibility to define custom security rules.
What is BCryptPasswordEncoder
Spring Security uses the PasswordEncoder interface to define how passwords are stored and validated.
- BCryptPasswordEncoder is one of the implementations of PasswordEncoder.
- It uses the BCrypt hashing function, which applies a strong hashing algorithm with a salt to protect passwords against brute-force and rainbow table attacks.
- Instead of storing plain text passwords, we store the hashed value in the system.
Class Definition
public class BCryptPasswordEncoder
        extends Object
        implements PasswordEncoder
Step-by-Step Implementation of BCryptPasswordEncoder
Step 1: Create Project in Spring Tool Suite (STS)
- Open STS 4 IDE.
- Create a Dynamic Web Project.
- Configure Apache Tomcat Server
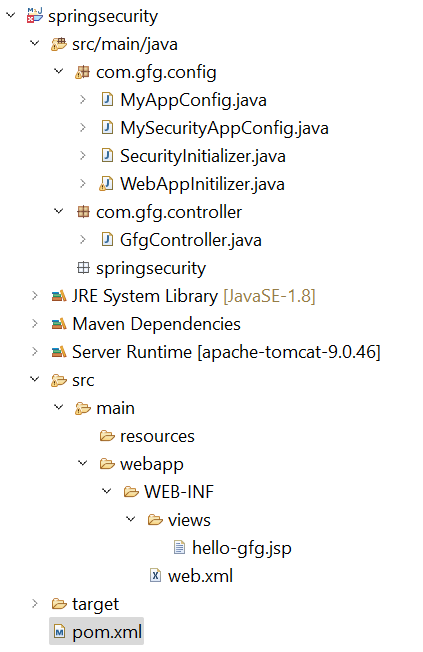
Step 2: Folder Structure
Before moving to the project let’s have a look at the complete project structure for our Spring MVC application.
Step 3: Add Dependencies to pom.xml File
Add the following dependencies to your pom.xml file
- Spring Web MVC
- Java Servlet API
- Spring Security Config
- Spring Security Web
Below is the complete pom.xml file. Please cross-verify if you have missed some dependencies.
pom.xml:
<?xml version="1.0" encoding="UTF-8"?>

<project xmlns="https://maven.apache.org/POM/4.0.0" xmlns:xsi="https://www.w3.org/2001/XMLSchema-instance"
  xsi:schemaLocation="https://maven.apache.org/POM/4.0.0 https://maven.apache.org/xsd/maven-4.0.0.xsd">
  <modelVersion>4.0.0</modelVersion>

  <groupId>com.gfg.springsecurity</groupId>
  <artifactId>springsecurity</artifactId>
  <version>0.0.1-SNAPSHOT</version>
  <packaging>war</packaging>

  <name>springsecurity Maven Webapp</name>
  <!-- FIXME change it to the project's website -->
  <url>http://www.gfg.com</url>

  <properties>
    <project.build.sourceEncoding>UTF-8</project.build.sourceEncoding>
    <maven.compiler.source>1.7</maven.compiler.source>
    <maven.compiler.target>1.7</maven.compiler.target>
  </properties>

  <dependencies>

    <!-- https://mvnrepository.com/artifact/org.springframework/spring-webmvc -->
    <dependency>
        <groupId>org.springframework</groupId>
        <artifactId>spring-webmvc</artifactId>
        <version>5.3.24</version>
    </dependency>

    <!-- https://mvnrepository.com/artifact/javax.servlet/javax.servlet-api -->
    <dependency>
        <groupId>javax.servlet</groupId>
        <artifactId>javax.servlet-api</artifactId>
        <version>4.0.1</version>
        <scope>provided</scope>
    </dependency>

    <!-- https://mvnrepository.com/artifact/org.springframework.security/spring-security-config -->
    <dependency>
        <groupId>org.springframework.security</groupId>
        <artifactId>spring-security-config</artifactId>
        <version>5.7.3</version>
    </dependency>

    <!-- https://mvnrepository.com/artifact/org.springframework.security/spring-security-web -->
    <dependency>
        <groupId>org.springframework.security</groupId>
        <artifactId>spring-security-web</artifactId>
        <version>5.7.3</version>
    </dependency>

  </dependencies>

  <build>
    <finalName>springsecurity</finalName>
    <pluginManagement><!-- lock down plugins versions to avoid using Maven defaults (may be moved to parent pom) -->
      <plugins>
        <plugin>
          <artifactId>maven-clean-plugin</artifactId>
          <version>3.1.0</version>
        </plugin>
        <!-- see https://maven.apache.org/ref/3.9.11/maven-core/default-bindings.html#Plugin_bindings_for_war_packaging -->
        <plugin>
          <artifactId>maven-resources-plugin</artifactId>
          <version>3.0.2</version>
        </plugin>
        <plugin>
          <artifactId>maven-compiler-plugin</artifactId>
          <version>3.8.0</version>
        </plugin>
        <plugin>
          <artifactId>maven-surefire-plugin</artifactId>
          <version>2.22.1</version>
        </plugin>
        <plugin>
          <artifactId>maven-war-plugin</artifactId>
          <version>3.2.2</version>
        </plugin>
        <plugin>
          <artifactId>maven-install-plugin</artifactId>
          <version>2.5.2</version>
        </plugin>
        <plugin>
          <artifactId>maven-deploy-plugin</artifactId>
          <version>2.8.2</version>
        </plugin>
      </plugins>
    </pluginManagement>
  </build>
</project>
Step 4: Configure Dispatcher Servlet
Go to the src > main > java and create a class WebAppInitilizer. Below is the code for the WebAppInitilizer.java file.
File: WebAppInitilizer.java
package com.gfg.config;

import org.springframework.web.servlet.support.AbstractAnnotationConfigDispatcherServletInitializer;

public class WebAppInitilizer extends
               AbstractAnnotationConfigDispatcherServletInitializer {

    @Override
    protected Class<?>[] getRootConfigClasses() {
        // TODO Auto-generated method stub
        return null;
    }

    @Override
    protected Class<?>[] getServletConfigClasses() {
        Class[] configFiles = {MyAppConfig.class};
        return configFiles;
    }

    @Override
    protected String[] getServletMappings() {
        String[] mappings = {"/"};
        return mappings;
    }
}
Step 5: Spring MVC Configuration
Create another class in the same location (src > main > java) and name it MyAppConfig. Below is the code for the MyAppConfig.java file.
MyAppConfig.java
package com.gfg.config;

import org.springframework.context.annotation.Bean;
import org.springframework.context.annotation.ComponentScan;
import org.springframework.context.annotation.Configuration;
import org.springframework.web.servlet.config.annotation.EnableWebMvc;
import org.springframework.web.servlet.view.InternalResourceViewResolver;
import org.springframework.security.crypto.bcrypt.BCryptPasswordEncoder;
import org.springframework.security.crypto.password.PasswordEncoder;


@Configuration
@EnableWebMvc
@ComponentScan("com")
public class MyAppConfig {

    // Configure view resolver
    @Bean
    InternalResourceViewResolver viewResolver() {
        InternalResourceViewResolver viewResolver = new InternalResourceViewResolver();
        viewResolver.setPrefix("/WEB-INF/views/");
        viewResolver.setSuffix(".jsp");
        return viewResolver;
    }
    @Bean
    PasswordEncoder getPasswordEncoder() {
        return new BCryptPasswordEncoder();
    }

}
Step 6: Create Controller
Go to the src > main > java and create a class GfgController. Below is the code for the GfgController.java file.
File: GfgController.java
package com.gfg.controller;

import org.springframework.stereotype.Controller;
import org.springframework.web.bind.annotation.GetMapping;

@Controller
public class GfgController {

    @GetMapping("/gfg")
    public String helloGfg() {
        return "hello-gfg";
    }
}
Step 7: Create View (JSP Page)
Go to the src > main > webapp > WEB-INF > right-click > New > Folder and name the folder as views. Then views > right-click > New > JSP File and name your first view.
hello-gfg.jsp
<!DOCTYPE html>
<html>
<body bgcolor="green">
    <h1>Hello GeeksforGeeks!</h1>
</body>
</html>
Step 8: Configure Spring Security
Go to the src > main > java and create a class MySecurityAppConfig and annotate the class with @EnableWebSecurity annotation.
package com.gfg.config;

import org.springframework.beans.factory.annotation.Autowired;
import org.springframework.security.config.annotation.authentication.builders.AuthenticationManagerBuilder;
import org.springframework.security.config.annotation.web.configuration.EnableWebSecurity;
import org.springframework.security.config.annotation.web.configuration.WebSecurityConfigurerAdapter;
import org.springframework.security.crypto.password.PasswordEncoder;

@SuppressWarnings("deprecation")
@EnableWebSecurity
public class MySecurityAppConfig extends WebSecurityConfigurerAdapter {

    @Autowired
    private PasswordEncoder passwordEncoder;

    @Override
    protected void configure(AuthenticationManagerBuilder auth) throws Exception {
    auth.inMemoryAuthentication()
        .passwordEncoder(passwordEncoder)
        .withUser("gfg")
        .password(passwordEncoder.encode("gfg123")) // Encode at runtime
        .roles("ADMIN");
    }

}
Step 9: Register Security Filter Chain
Go to the src > main > java and create a class SecurityInitializer.
File: SecurityInitializer.java
package com.gfg.config;

import org.springframework.security.web.context.AbstractSecurityWebApplicationInitializer;

// This class will help to register spring security filter chain with our application
public class SecurityInitializer extends AbstractSecurityWebApplicationInitializer {

}
Now we are done with setting up our Spring Security Filter Chain.
Step 10: Run Your Spring Application
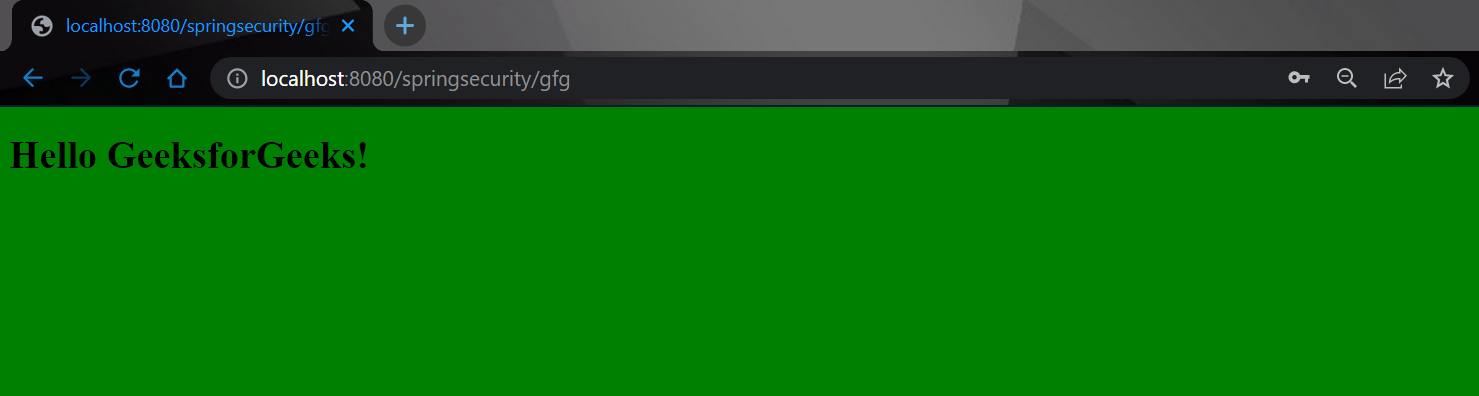
To run our Spring MVC Application right-click on your project > Run As > Run on Server. After that use the following URL to run your controller.
http://localhost:8080/springsecurity/gfg
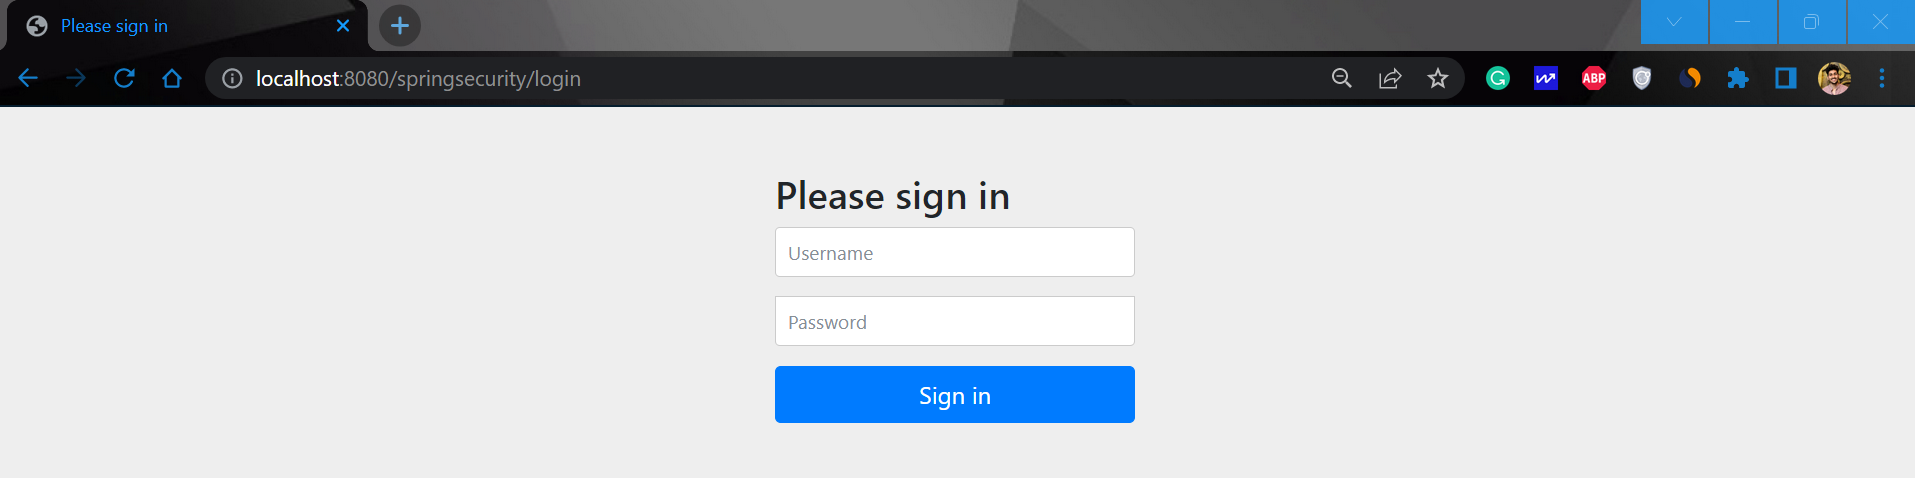
The time when you hot the URL you can see it will redirect automatically to this URL
http://localhost:8080/springsecurity/login
And the output is something like this.
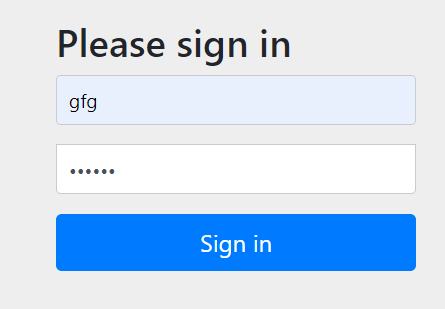
Now sign in with the following credentials
- Username: gfg
- Password: gfg123
And now you can access your endpoint.