In microservices and distributed applications, APIs often expose sensitive business data and operations. Therefore, it is important to ensure that only authorized clients can access these APIs. One simple and effective approach is to secure APIs using API Keys and API Secrets, where every client request is validated before processing.
- Provides a lightweight mechanism to secure APIs.
- Ensures that only authorized clients can access protected endpoints.
- Easy to implement compared to OAuth2 and JWT-based authentication.
API Key
An API Key is a unique identifier assigned to a client application that is used to identify and authenticate the client when accessing an API. It acts as the primary credential sent with every request.
- Identifies the client or application making the API request.
- Helps restrict API access to authorized applications only.
API Secret
An API Secret is a confidential value associated with an API Key that provides an additional layer of security by validating the authenticity of the request. It should always be kept private and never exposed publicly.
- Verifies that the request is coming from a trusted client.
- Provides stronger security when used together with an API Key.
Working of API Key and Secret
- Client Request: When the client makes a request to the API, it includes the API key and secret in the request headers.
- Server Validation: The server intercepts the request, extracts the API key and secret, and validates them against the known valid values.
- Access Control: If the API key and secret are valid, the server processes the request and returns the response. If they are invalid, the server denies access and returns an unauthorized error.
This method provides a lightweight and effective way to secure APIs without the complexity of token-based authentication mechanisms.
Implementation of the Secure API Communication in Spring Boot
Below are the implementation steps to Secure API Communication in Spring Boot.
Step 1: Create Spring Project
Create a Spring Boot project using the Spring Initializr and add the required dependencies.
Dependencies:
- Spring Web
- Spring Security
- Lombok
- Spring DevTools
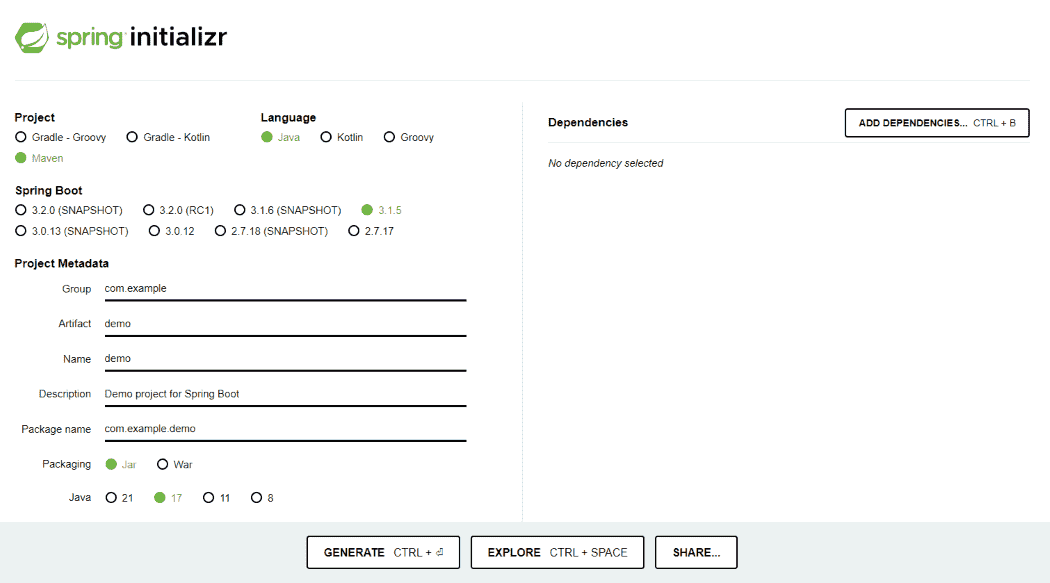
After the project creation done, the folder structure will be like below image:

Step 2: Configure Application Properties
Open the application.properties file and add the configuration and security credentials of the application.
spring.application.name=secure-API-Demo
spring.security.user.name=user
spring.security.user.password=password
Step 3: Create the ApiKeyFilter class
Create a custom filter that validates the API Key and API Secret from incoming requests.
package org.example.secureapidemo.config;


import jakarta.servlet.FilterChain;
import jakarta.servlet.FilterConfig;
import jakarta.servlet.ServletException;
import jakarta.servlet.http.HttpFilter;
import jakarta.servlet.http.HttpServletRequest;
import jakarta.servlet.http.HttpServletResponse;

import java.io.IOException;

public class ApiKeyFilter extends HttpFilter {

    private static final String API_KEY_HEADER = "x-api-key";
    private static final String API_SECRET_HEADER = "x-api-secret";
    private static final String VALID_API_KEY = "apikey123";
    private static final String VALID_API_SECRET = "secret123";

    @Override
    protected void doFilter(HttpServletRequest request, HttpServletResponse response, FilterChain chain)
            throws IOException, ServletException {
        String apiKey = request.getHeader(API_KEY_HEADER);
        String apiSecret = request.getHeader(API_SECRET_HEADER);

        if (VALID_API_KEY.equals(apiKey) && VALID_API_SECRET.equals(apiSecret)) {
            chain.doFilter(request, response);
        } else {
            response.sendError(HttpServletResponse.SC_UNAUTHORIZED, "Invalid API Key or Secret");
        }
    }

    @Override
    public void init(FilterConfig filterConfig) throws ServletException {
        // Initialization code, if needed
    }

    @Override
    public void destroy() {
        // Cleanup code, if needed
    }
}
Step 4: Create the SecurityConfig class
Configure Spring Security and register the custom API Key filter.
package org.example.secureapidemo.config;


import org.springframework.context.annotation.Bean;
import org.springframework.context.annotation.Configuration;
import org.springframework.security.config.annotation.web.builders.HttpSecurity;
import org.springframework.security.config.annotation.web.configuration.EnableWebSecurity;
import org.springframework.security.crypto.bcrypt.BCryptPasswordEncoder;
import org.springframework.security.crypto.password.PasswordEncoder;
import org.springframework.security.web.SecurityFilterChain;
import org.springframework.security.web.authentication.UsernamePasswordAuthenticationFilter;

@Configuration
@EnableWebSecurity
public class SecurityConfig {

    @Bean
    public SecurityFilterChain securityFilterChain(HttpSecurity http) throws Exception {
        http
                .csrf().disable()
                .authorizeRequests(authorizeRequests ->
                        authorizeRequests
                                .requestMatchers("/auth/**").permitAll()
                              .anyRequest().authenticated()
                )
                .httpBasic();

      http.addFilterBefore(apiKeyFilter(), UsernamePasswordAuthenticationFilter.class);

        return http.build();
    }

    @Bean
    public ApiKeyFilter apiKeyFilter() {
        return new ApiKeyFilter();
    }

    @Bean
    public PasswordEncoder passwordEncoder() {
        return new BCryptPasswordEncoder();
    }
}
Step 5: Create the SecureController Class
Create public and protected API endpoints.
package org.example.secureapidemo.controller;


import org.springframework.web.bind.annotation.GetMapping;
import org.springframework.web.bind.annotation.RequestMapping;
import org.springframework.web.bind.annotation.RestController;

@RestController
@RequestMapping("/api")
public class SecureController {

    @GetMapping("/public/hello")
    public String publicHello() {
        return "Hello, Public!";
    }

    @GetMapping("/private/hello")
    public String privateHello() {
        return "Hello, Private!";
    }
}
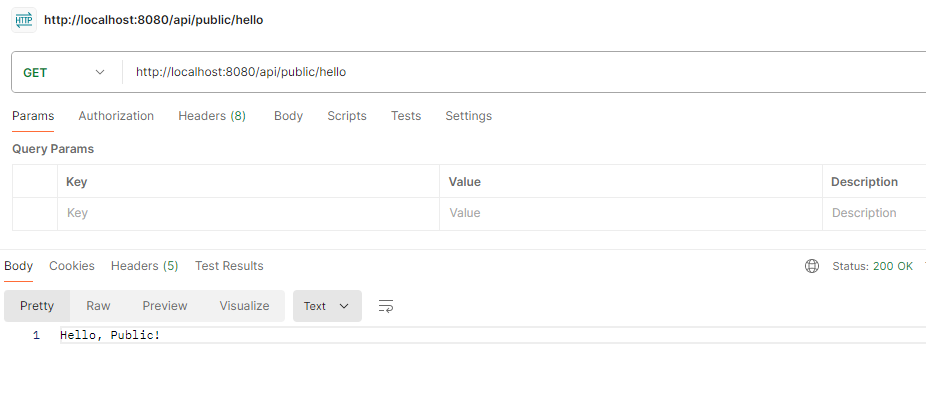
- "/api/public/hello" can be accessible without any authentication.
- "/api/private/hello" requires the valid API key and secret to access the endpoint.
Step 6: Main Class
No changes are required in the main class.
package org.example.secureapidemo;

import org.springframework.boot.SpringApplication;
import org.springframework.boot.autoconfigure.SpringBootApplication;

@SpringBootApplication
public class SecureApiDemoApplication {

    public static void main(String[] args) {
        SpringApplication.run(SecureApiDemoApplication.class, args);
    }

}
Step 7: Review the Generated pom.xml File.
The generated pom.xml file should contain the Following Dependency.
<?xml version="1.0" encoding="UTF-8"?>
<project xmlns="https://maven.apache.org/POM/4.0.0" xmlns:xsi="https://www.w3.org/2001/XMLSchema-instance"
         xsi:schemaLocation="https://maven.apache.org/POM/4.0.0 https://maven.apache.org/xsd/maven-4.0.0.xsd">
    <modelVersion>4.0.0</modelVersion>
    <parent>
        <groupId>org.springframework.boot</groupId>
        <artifactId>spring-boot-starter-parent</artifactId>
        <version>3.3.0</version>
        <relativePath/> <!-- lookup parent from repository -->
    </parent>
    <groupId>org.example</groupId>
    <artifactId>secure-API-Demo</artifactId>
    <version>0.0.1-SNAPSHOT</version>
    <name>secure-API-Demo</name>
    <description>secure-API-Demo</description>
    <properties>
        <java.version>17</java.version>
    </properties>
    <dependencies>
        <dependency>
            <groupId>org.springframework.boot</groupId>
            <artifactId>spring-boot-starter-security</artifactId>
        </dependency>
        <dependency>
            <groupId>org.springframework.boot</groupId>
            <artifactId>spring-boot-starter-web</artifactId>
        </dependency>

        <dependency>
            <groupId>org.springframework.boot</groupId>
            <artifactId>spring-boot-devtools</artifactId>
            <scope>runtime</scope>
            <optional>true</optional>
        </dependency>
        <dependency>
            <groupId>org.projectlombok</groupId>
            <artifactId>lombok</artifactId>
            <optional>true</optional>
        </dependency>
        <dependency>
            <groupId>org.springframework.boot</groupId>
            <artifactId>spring-boot-starter-test</artifactId>
            <scope>test</scope>
        </dependency>
        <dependency>
            <groupId>org.springframework.security</groupId>
            <artifactId>spring-security-test</artifactId>
            <scope>test</scope>
        </dependency>
    </dependencies>

    <build>
        <plugins>
            <plugin>
                <groupId>org.springframework.boot</groupId>
                <artifactId>spring-boot-maven-plugin</artifactId>
                <configuration>
                    <excludes>
                        <exclude>
                            <groupId>org.projectlombok</groupId>
                            <artifactId>lombok</artifactId>
                        </exclude>
                    </excludes>
                </configuration>
            </plugin>
        </plugins>
    </build>

</project>
Step 8: Run the application
Once the project completed, run the application and it will start at port 8080.
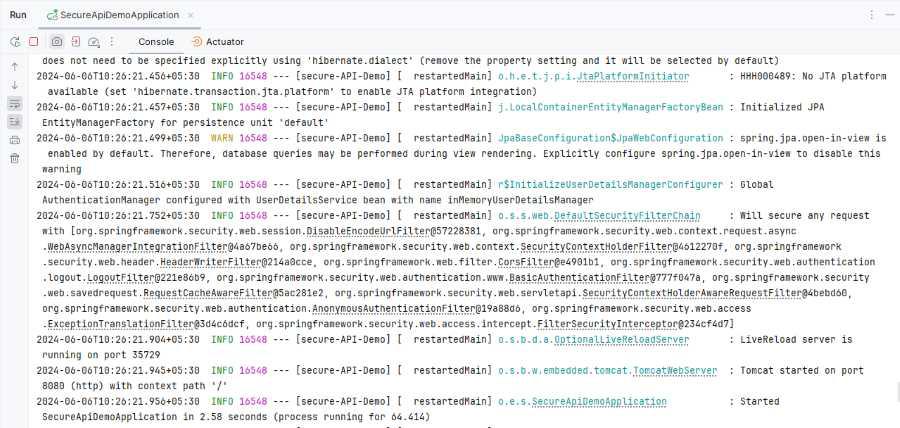
Step 9: Testing the Endpoints
Secure endpoint:
POST http://localhost:8080/api/private/hello
Output:
1. Authentication Details:
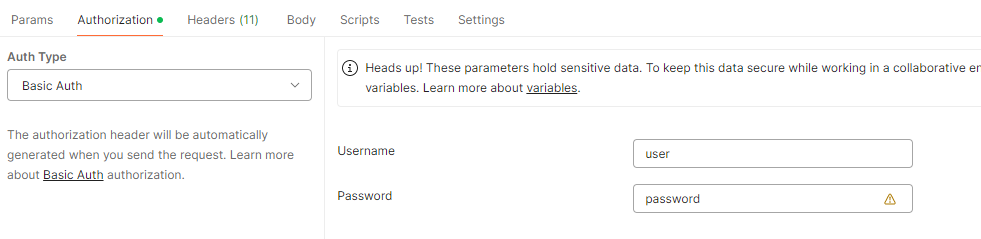
2. Headers API Keys:

Public Endpoint:
POST http://localhost:8080/api/public/hello
Output: