



二、字节码迷踪 —— Python pyc 跨版本逆向
题目信息
|
题目名称 |
字节码迷踪 |
|
题目分类 |
REVERSE |
|
题目难度 |
中级 |
|
题目分值 |
350 |
|
附件 |
py_obf_10.zip |
|
Flag 格式 |
flag{xxxxxxxx-xxxx-xxxx-xxxx-xxxxxxxxxxxx}(x 为小写字母或数字) |
题目展示
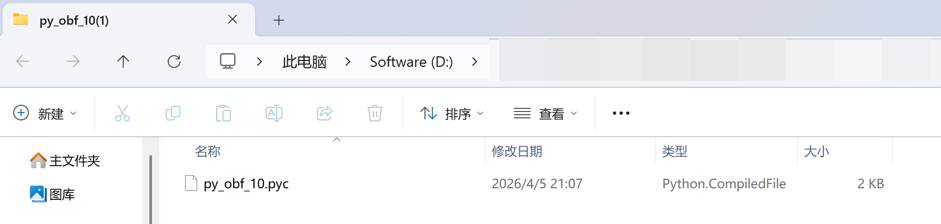
图 2-1 字节码迷踪 题目页面
题目分析
题目描述说:你发现了一个可疑的 Python 编译文件集合,这些 .pyc 文件被认为是某个加密程序的组成部分,其中隐藏着重要的 flag 信息。由于原始源代码已经丢失,你只能通过分析编译后的字节码来还原程序逻辑并提取 flag。
解压 py_obf_10.zip 后只得到一个文件 py_obf_10.pyc(1179 bytes)。先看一下 pyc 文件头,确认 Python 版本:
Magic number: 0x0dcb (3531)

对应版本: Python 3.12.0
当前分析环境是 Python 3.10.2,没办法直接用内置的 marshal + dis 加载 3.12 的字节码。这里有两种思路:要么本地装 Python 3.12,要么用跨版本工具 xdis / uncompyle6 直接加载。考虑到只是要看常量和符号,用 xdis 更省事:
pip install uncompyle6
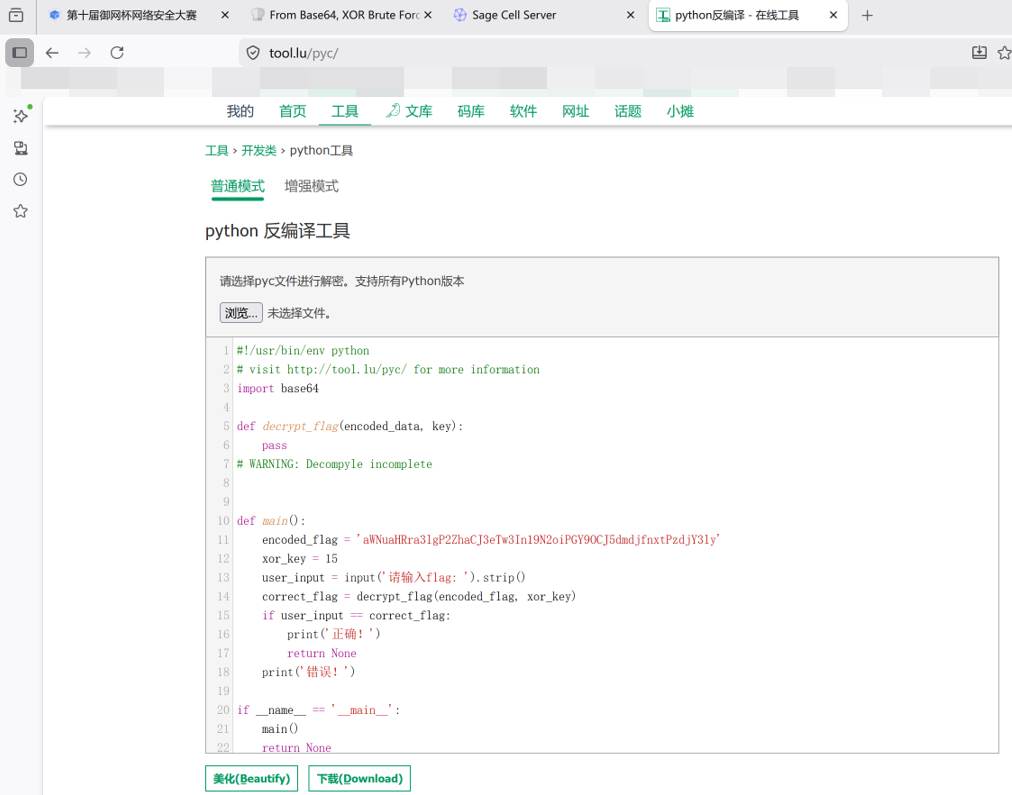
图 2-2 在线 pyc 反编译站点https:// tool.lu/pyc/
▶ 1. 提取常量与符号
用 xdis.load_module() 跨版本加载字节码,可以拿到完整的模块结构。模块级 co_consts 里有几个关键对象:
|
text co_consts: [0] 0 [1] None [2] <Code311: decrypt_flag> <- 解密函数 [3] <Code311: main> <- 主函数 [4] '__main__' |
main 函数的常量列表里直接暴露了所有关键信息:
|
python consts = ( None, 'aWNuaHRra3lgP2ZhaCJ3eTw3In19N2oiPGY9OCJ5dmdjfnxtPzdjY3ly', # Base64 编码的 flag 15, # XOR 密钥 '请输入flag: ', # 提示语 '正确!', # 成功消息 '错误!', # 失败消息 ) varnames = ('encoded_flag', 'xor_key', 'user_input', 'correct_flag') |
decrypt_flag 函数有两个参数(encoded_data, key),内部使用 base64.b64decode 解码后逐字节 XOR;它还有一个生成器 <genexpr>,闭包捕获了外层的 key。符号表里出现了 base64、b64decode、join、chr,函数逻辑基本就一目了然了。
▶ 2. 还原源代码
根据上面的常量、变量名、符号表,可以完整还原出原始 Python 代码:
import base64


def decrypt_flag(encoded_data, key):

    """Base64 解码后逐字节 XOR 解密"""

    decoded = base64.b64decode(encoded_data)

    return ''.join(chr(b ^ key) for b in decoded)


def main():

    encoded_flag = 'aWNuaHRra3lgP2ZhaCJ3eTw3In19N2oiPGY9OCJ5dmdjfnxtPzdjY3ly'

    xor_key = 15


    user_input = input('请输入flag: ').strip()

    correct_flag = decrypt_flag(encoded_flag, xor_key)


    if user_input == correct_flag:

        print('正确!')

    else:

        print('错误!')


if __name__ == '__main__':

    main()
▶ 3. 解密过程
加密逻辑非常清晰:base64_decode(data) -> XOR(0x0f) -> chr() -> join。直接照着写一个反向脚本即可:
import base64


encoded = "aWNuaHRra3lgP2ZhaCJ3eTw3In19N2oiPGY9OCJ5dmdjfnxtPzdjY3ly"

decoded = base64.b64decode(encoded)

xor_key = 15


flag = ''.join(chr(b ^ xor_key) for b in decoded)

print(flag)
逐字节看一下解密过程,前 5 个字符就能确认方向是对的:
|
text Encoded (Base64): aWNuaHRra3lgP2ZhaCJ3eTw3In19N2oiPGY9OCJ5dmdjfnxtPzdjY3ly Decoded (42 bytes): 69 63 6e 68 74 6b 6b 79 60 3f 66 61 68 22 77 79 ...
XOR 0x0f 逐字节: 0x69 ^ 0x0f = 0x66 'f' 0x63 ^ 0x0f = 0x6c 'l' 0x6e ^ 0x0f = 0x61 'a' 0x68 ^ 0x0f = 0x67 'g' 0x74 ^ 0x0f = 0x7b '{' ... (共 42 字节) |
如果手头没有 xor_key 这个常量,也可以对 0~255 所有密钥暴力搜索一遍,只有 key=15 能产生符合 flag{xxxxxxxx-xxxx-xxxx-xxxx-xxxxxxxxxxxx} 格式约束的结果。
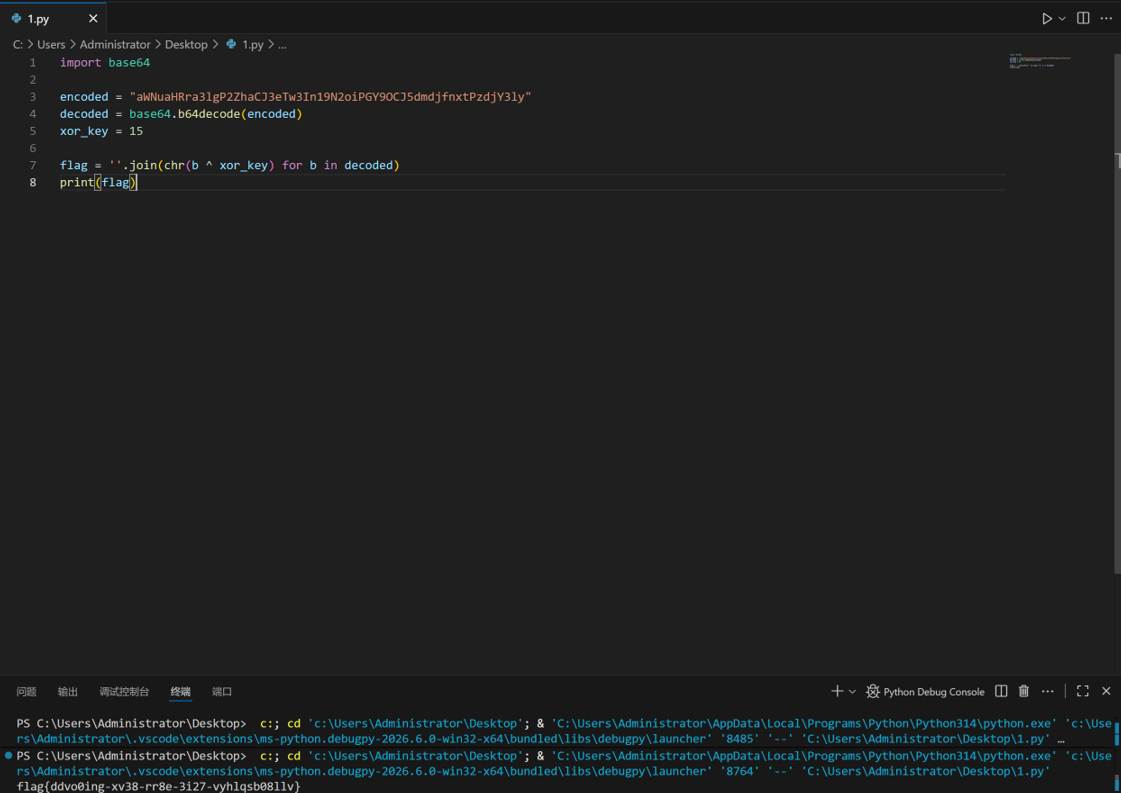
图 2-3 脚本运行得到 Flag
Flag
|
FLAG flag{ddvo0ing-xv38-rr8e-3i27-vyhlqsb08llv} |
技术总结
本题核心考点集中在 Python 字节码层面:
• 识别 .pyc 文件的 Magic Number,定位 Python 版本(这里是 3.12.0);
• 使用 xdis 等跨版本工具加载不同版本字节码,绕开版本不匹配的限制;
• 从 co_consts 和 co_names 还原程序逻辑,不需要完整反编译;
• Base64 + XOR 双重编码的识别与解密,遇到不知道密钥的情况可以暴力搜索。
整体难度不高,但要求选手对 Python 字节码结构、marshal 格式以及 pyc 文件头有一定了解,否则会被版本问题卡住。


 扫一扫
扫一扫


 9738
9738

 被折叠的 条评论
为什么被折叠?
被折叠的 条评论
为什么被折叠?
 到【灌水乐园】发言


